How to Remove Woodchip Wallpaper: A Step-by-Step Guide
Woodchip wallpaper can be a tough customer when it comes to home renovations. Known for its textured finish and stubborn grip, removing it can feel daunting—but with the right method and tools, you can strip it away successfully and reveal a smooth surface ready for painting or redecoration.
To effectively remove woodchip luxury wallpaper, begin by scoring the surface to help the removal solution soak in. Next, apply a warm, soapy water mixture or a wallpaper remover, keeping the wallpaper damp to loosen the adhesive. Once softened, gently scrape off the wallpaper using a scraper.
Here’s a step-by-step guide to help you remove woodchip wallpaper efficiently and safely.
Step 1: Prepare the Space
Before diving into the actual removal process, it’s essential to get your space ready:
- Clear the area: Move furniture away from the walls and cover the floor with drop cloths or dust sheets to protect surfaces from water and debris.
- Wear protective gear: Gloves will protect your hands from chemicals or hot steam, and a face mask or respirator is recommended—especially if the wallpaper contains older materials that may flake or release dust.
-
Score the wallpaper: Woodchip wallpaper has a textured surface that makes it harder for moisture to penetrate. Use a scoring tool or sharp utility knife to make tiny perforations across the paper. This allows steam or removal solutions to soak in more effectively.
Also read - can you wallpaper over paint
Step 2: Apply a Wallpaper Removal Method
There are two main techniques to soften and loosen the wallpaper: steaming and soaking.
Option A: Steam Removal (Recommended)
- Using a wallpaper steamer is one of the most effective methods for removing woodchip wallpaper.
- Fill the steamer with water and let it heat up.
- Press the steaming pad against the scored wallpaper, working in sections for 20–30 seconds each.
- Let the steam do the work—softening both the paper and the adhesive beneath.
Option B: Soaking with a Removal Solution
- If you don’t have a steamer, a warm water solution can still get the job done.
- Mix warm water with a few drops of dish soap or use a commercial wallpaper remover.
- Apply it generously using a sponge, spray bottle, or paint roller.
- Keep the wallpaper damp by reapplying as necessary—this is crucial to loosening the adhesive.
Step 3: Remove the Wallpaper
Once the paper is softened, it’s time to get scraping:
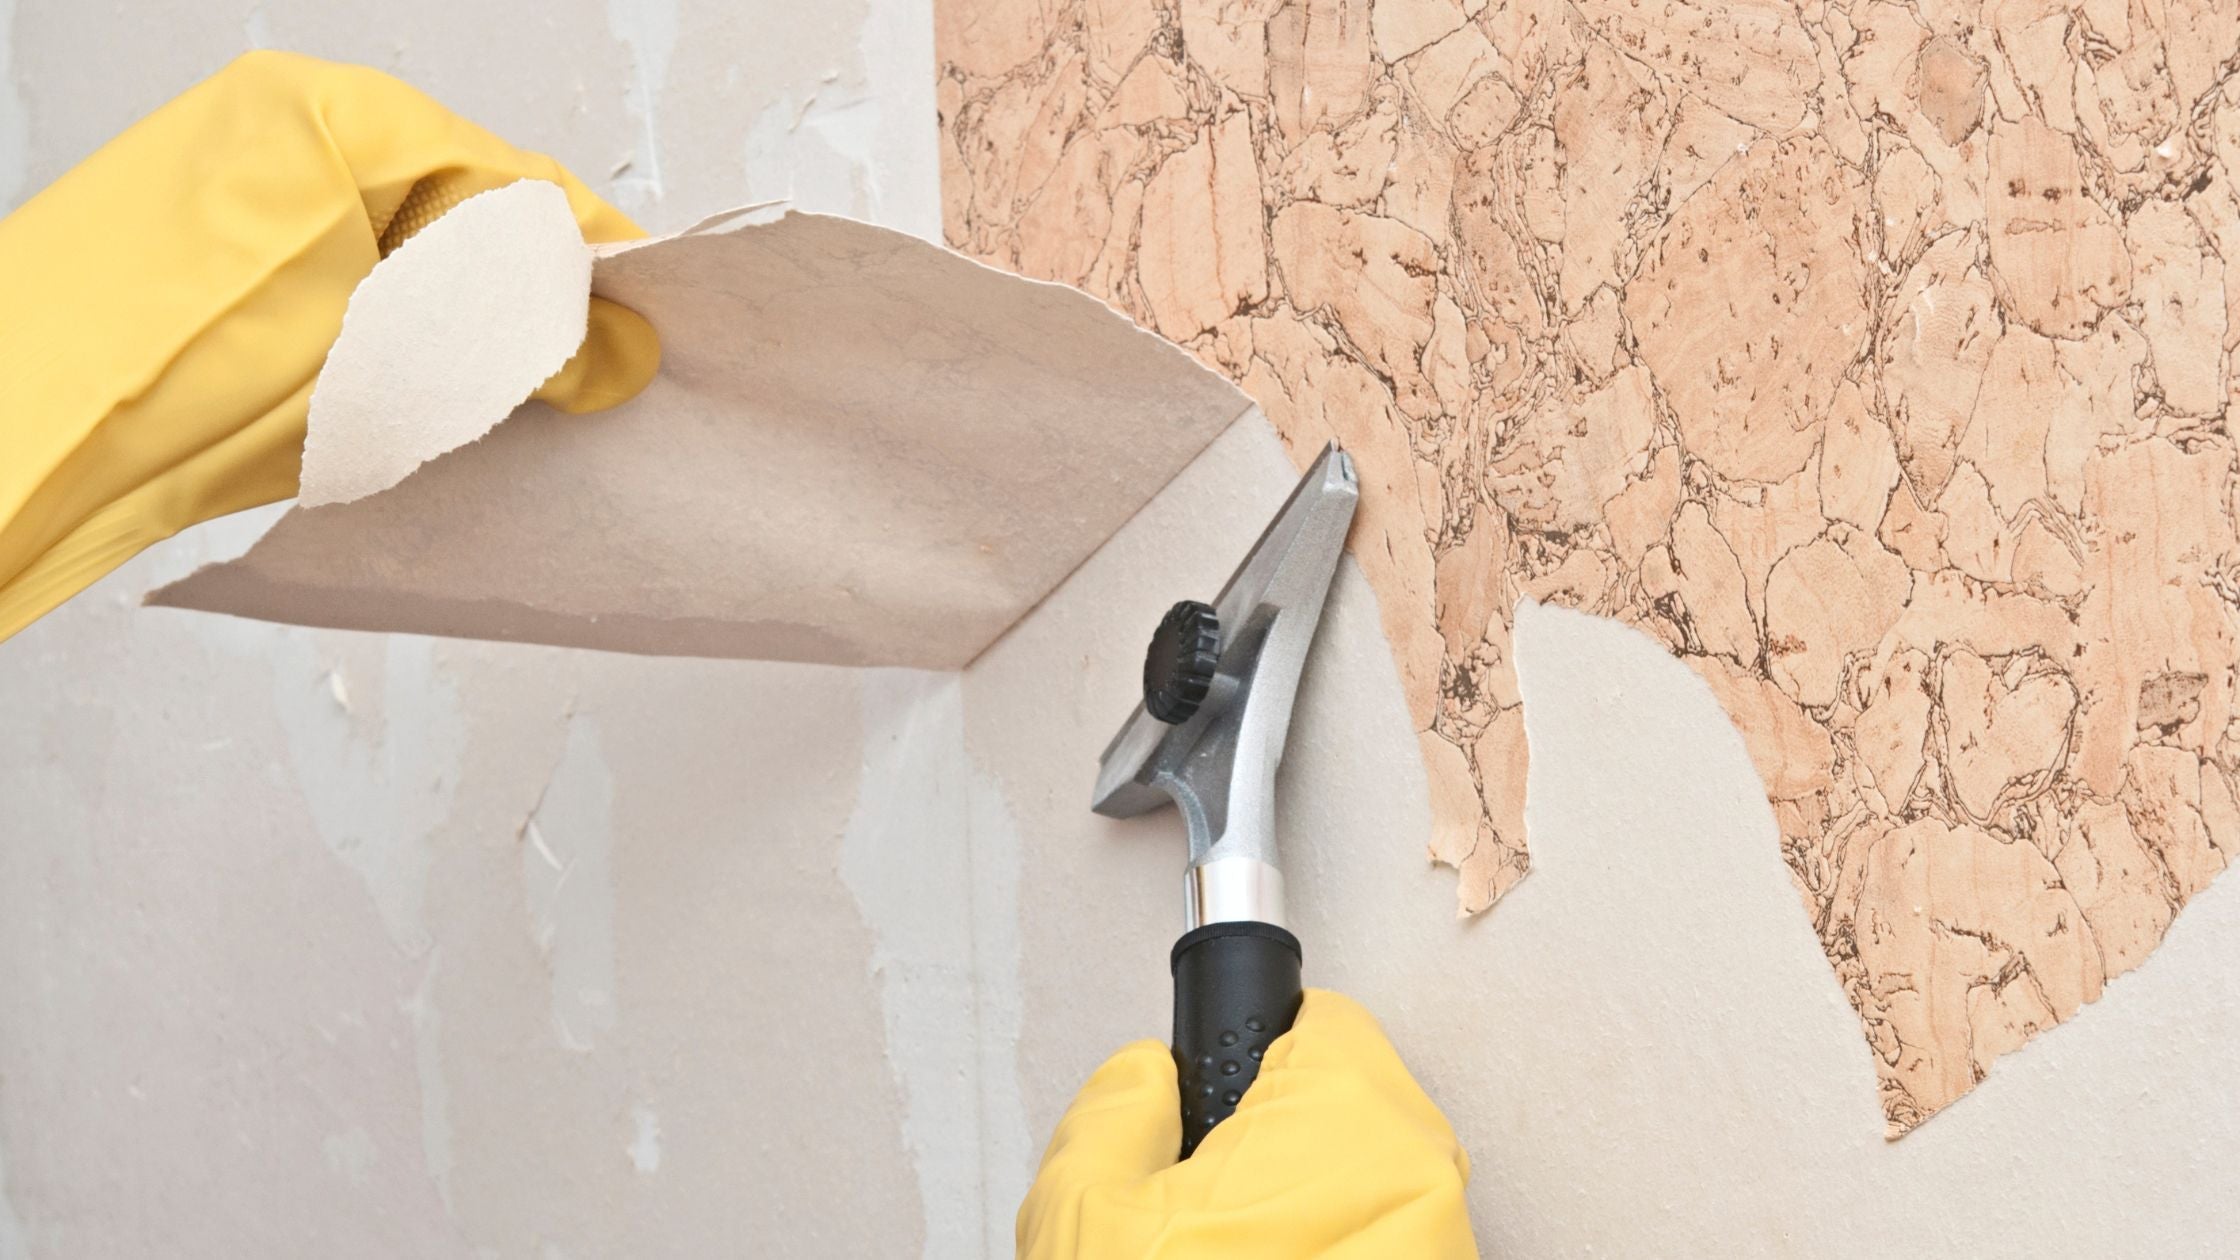
- Use a scraper or putty knife to lift and peel away the wallpaper.
- Keep the blade at a shallow angle to avoid damaging the wall underneath.
- Work in small sections, ensuring each area stays moist while you scrape.
- For stubborn patches, don’t force it—reapply steam or soaking solution and try again after a few minutes.
Step 4: Clean and Repair the Wall
After the wallpaper is removed, your walls might need a bit of TLC:
- Clean any leftover glue or residue using a sponge and warm water.
- Inspect the wall for any damage. Fill in holes or gouges with filler or plaster, then sand smooth once dry.
- Allow the wall to fully dry before applying primer, paint, or new wallpaper.
Final Tips
- Be patient—woodchip wallpaper can be time-consuming to remove, especially if it’s been painted over.
- Always test your method on a small area first.
- Ventilate the room well, especially when using steam or chemical removers.


